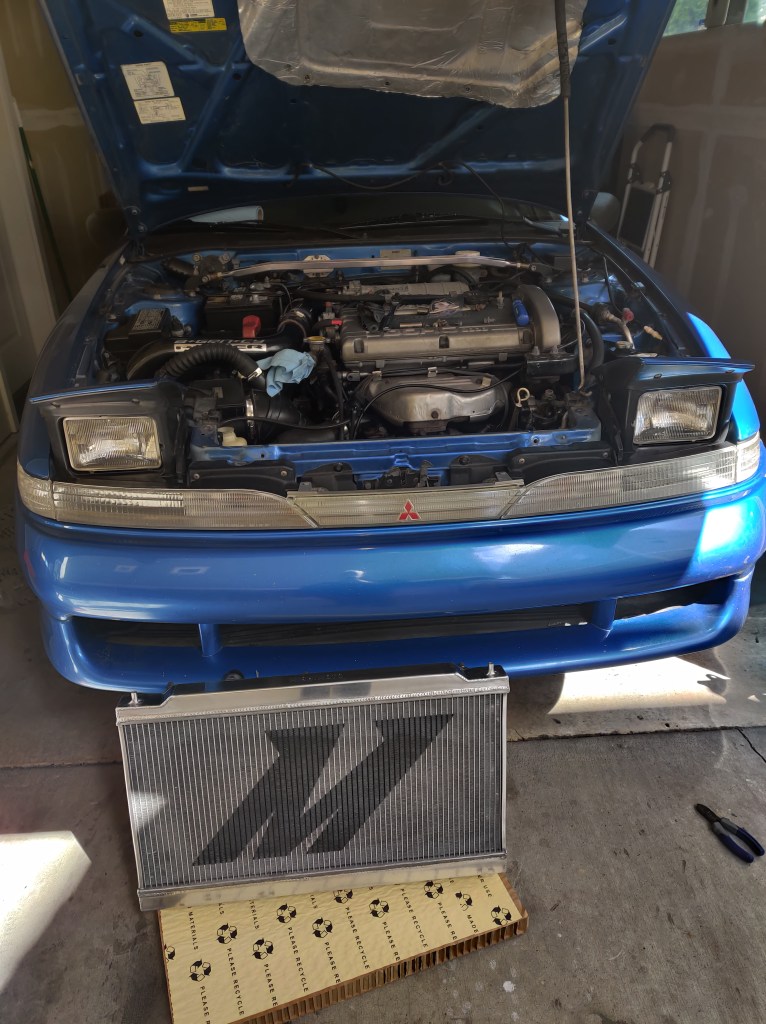
I recently broke down on a warm saturday and installed one of the parts that I’ve been saving for the big engine rebuild; a Mishimoto aluminum radiator. While it isn’t a massive crossflow racing radiator, it eliminates the plastic capped factory rad AND is substantially thicker. The radiator is sold as a “drop in fit” which is almost the experience I had as well, save for a small modification, and a small mistake on my part..
Like all of the work I’ve done on this car, this task was shockingly easy compared to working on a more recent vehicle, 2 sockets and a screwdriver did the entire job. The car’s radiator sits on a pair of bushings at the bottom and is held down by a pair at the top, each secured by a 2 bolt bracket at either corner. No additional components had to come out in order to remove the radiator once I loosened the band clamps on the coolant hoses.
A quick test fit after removing the OEM radiator quickly revealed that while no “modification” would be needed to install the mishimodo rad, it would not fit while the AC radiator was installed. Fortunately the A/C in this car is long dead, already drained, and it’s something I’ve been planning on removing from the beginning, so out it went! It took some scraping and chipping to get through the solidified crud that entombed the forward facing bolts that secured it to the A/C lines but they came out easy enough once I had them free, I just had to be careful not to erroneously mess with the power steering fluid loop that also sits in the front bumper.
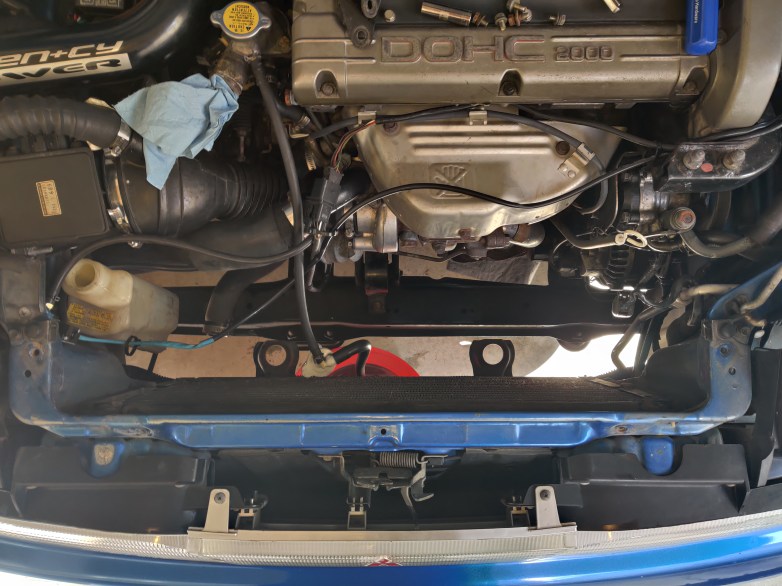
With that radiator out of the way, I went on to transfer the fans and fan switch from the old radiator. I wound up slipping off of the fan switch with the wrench I was using and damaging the connector so I had to make a run to a nearby auto parts store for a new one, but this was the only trouble I ran into during this install.

After installing the fans and new switch, the rad dropped right into place without issue. I went ahead and replaced the coolant hoses with new mishimoto hoses as well since I was working in the area and while probably not original, the existing hoses weren’t in the best shape. There was something really nice about just how easily the rad slid into place and met with the existing bushings, regardless of how dried out they were.. (One part I haven’t been able to find a replacement for just yet)

Voila! With the A/C radiator out of the way and the hardware all installed, the top brackets fit right onto the new rad just as they fit the old one. I topped up the coolant reservoir and partially pre-filled the radiator before clamping down all the hoses and starting the car up to get the fluid moving. It took a minute for the idle to fall to normal speeds as it got all the coolant flowing while I kept the heater on full blast. Before long the reservoir level stopped dropping and the job was done, theres one future radiator failure avoided! Now if only I wouldn’t have to drain all this coolant anyway in a few weeks when the engine gets pulled out…
